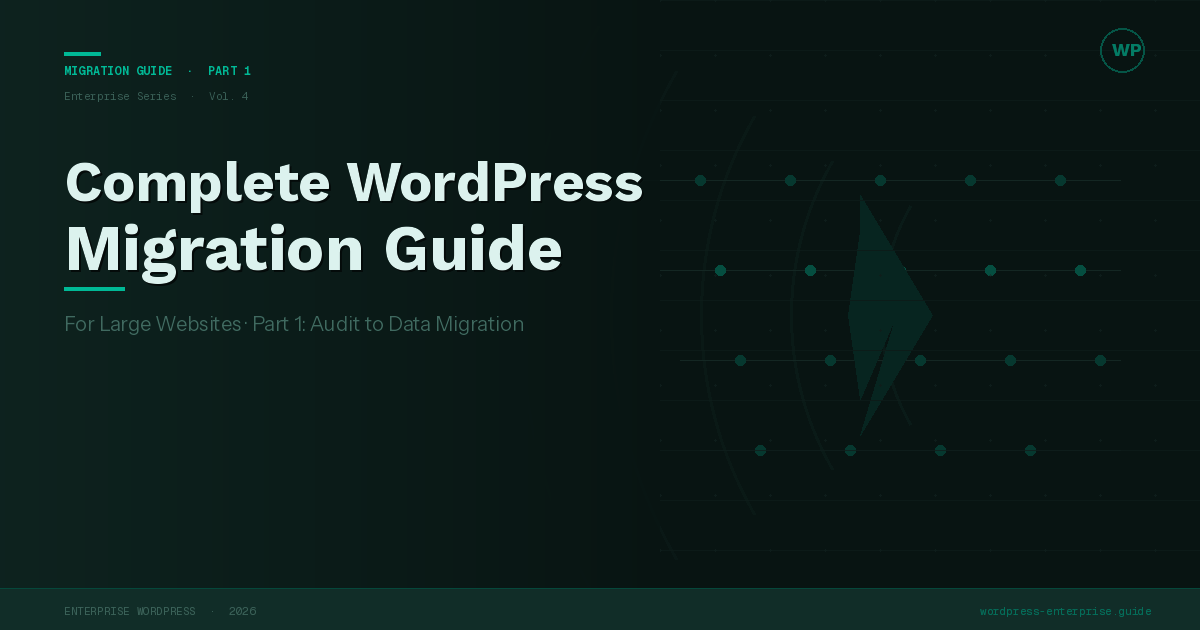
Complete WordPress Migration Guide for Large Websites
Part 1
Migrating a high-traffic WordPress site isn’t a copy-paste operation. It’s a structured engineering project with real risk, real deadlines, and real consequences if it goes wrong. This guide is a complete, phase-by-phase blueprint for doing it right.
Migration Phases Overview
| Phase | Name | Timeline |
|---|---|---|
| 01 | Audit & Inventory | Weeks 1–2 |
| 02 | Environment Setup | Weeks 2–3 |
| 03 | Data Migration | Weeks 3–5 |
| 04 | SEO Preservation | Weeks 4–5 |
| 05 | QA & Testing | Weeks 5–7 |
| 06 | Cutover & Launch | Week 8 |
Before you start: Large WordPress migrations should have a dedicated project manager, a staging environment that mirrors production exactly, and a written rollback plan signed off by stakeholders. Starting without these three things is how migrations become incidents.
Phase 01
Audit & Inventory
You cannot migrate what you haven’t mapped. The audit phase exists to eliminate surprises during execution. Surprises in migration projects cost days — sometimes weeks — of unplanned work.
Content Inventory
Export a full crawl of your existing site using a tool like Screaming Frog, Sitebulb, or Ahrefs Site Audit…
Plugin & Theme Audit
List every active plugin and theme…
Audit Phase Checklist
- Full site crawl exported and reviewed
- Google Search Console data downloaded (traffic by URL)
- All custom post types and fields documented
- Plugin/theme compatibility matrix completed
- Premium license inventory completed
- Third-party integrations mapped
- Rollback plan documented and approved
Phase 02
Environment Setup
The new environment must be a precise mirror of production before a single byte of content is migrated.
Infrastructure Parity
Match PHP version, server software…
- Provision new environment
- Install WordPress core
- Replicate plugin/theme stack
- Configure integrations
- Validate with smoke tests
Phase 03
Data Migration
The data migration phase carries the highest technical risk. A database export taken from production and imported into a new environment will contain hardcoded URLs — old domain references in post content, option values, and serialized data — that must be updated systematically.
Struggling With WordPress Performance At Scale?
Database Migration
Export your production database using mysqldump or a managed tool like Adminer. Import into the new environment’s database. Then perform a search-and-replace across all URL references using WP-CLI’s search-replace command — this is critical and must handle serialized PHP data correctly.
# Standard search-replace with dry run first
wp search-replace 'https://old-domain.com'
'https://new-domain.com'
--dry-run --report-changed-only

# Run for real
wp search-replace 'https://old-domain.com'
'https://new-domain.com'
--skip-columns=guid

wp cache flush
wp rewrite flush
Media Migration
The wp-content/uploads directory is often the largest and most time-consuming asset to transfer. For large media libraries (100GB+), use rsync over SSH rather than FTP or zip archives — it supports resumable transfers and only syncs changed files on subsequent runs. If migrating to cloud storage (S3, Cloudflare R2), run the sync before cutover and do a final delta sync on the day of launch.
rsync -avz --progress
user@oldserver:/var/www/html/wp-content/uploads/
/var/www/html/wp-content/uploads/
Never migrate directly from production to production. Always use staging first.
Phase 04
SEO Preservation
SEO is where poorly executed migrations cause the most lasting damage…
| Scenario | SEO Risk | Mitigation | Action Required |
|---|---|---|---|
| URLs unchanged | Low | Verify canonical tags | Audit canonicals |
| Domain change | High | 301 redirects | GSC notice |
Technical SEO Checklist
- Full redirect map built
- XML sitemap submitted
- Robots.txt verified
- Canonical tags correct
- Structured data intact
Phase 05
QA & Testing
Testing a large WordPress migration requires a systematic approach…
Performance Benchmarking
Run Lighthouse audits…
Phase 06
Cutover & Launch
- Lower DNS TTL
- Maintenance mode
- Final DB sync
- Media sync
- Update DNS
- Validate
- Monitor
Schedule cutover for low-traffic windows.
Key Numbers
- DNS TTL: 300 seconds
- Server retention: 72 hours
- Traffic drop threshold: −15%
- Cutover window: 2–4am
- Max response time: <800ms
Essential Tools
- WP-CLI
- Screaming Frog
- rsync
- Google Search Console
- WP Migrate